Getting Started
You can access Genymotion SaaS at https://cloud.geny.io
To start using Android virtual devices in the cloud with Genymotion SaaS, you need to:
- Create an account
- Activate that account by opening the email address verification link you received
- Log in
Create an account
Even if you are already using Genymotion Device image (PaaS) or Genymotion Desktop, you still have to create an account with your existing email address.
Temporary email (also known as disposable) providers are not allowed for registration. Email aliases are also prohibited.
Fill up the form at https://cloud.geny.io/signup to create a Cloud account for Genymotion SaaS:
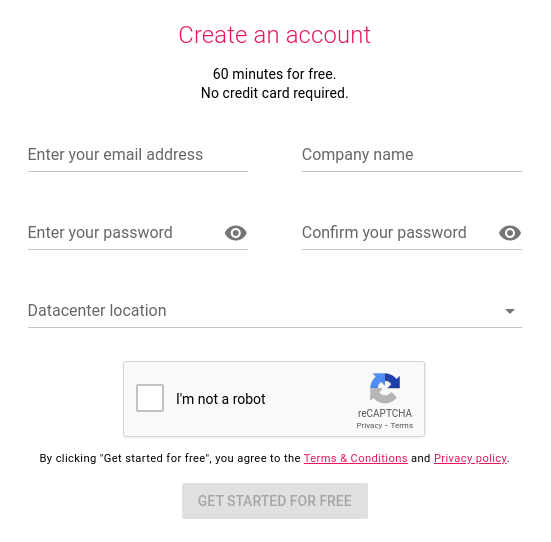
The datacenter location defines where you want your virtual devices hosts to be. Make sure to pick the nearest location. You will be able to change it later, in the Administration interface.
A verification email will be sent to the email address you provided in order to activate your Genymotion SaaS account.
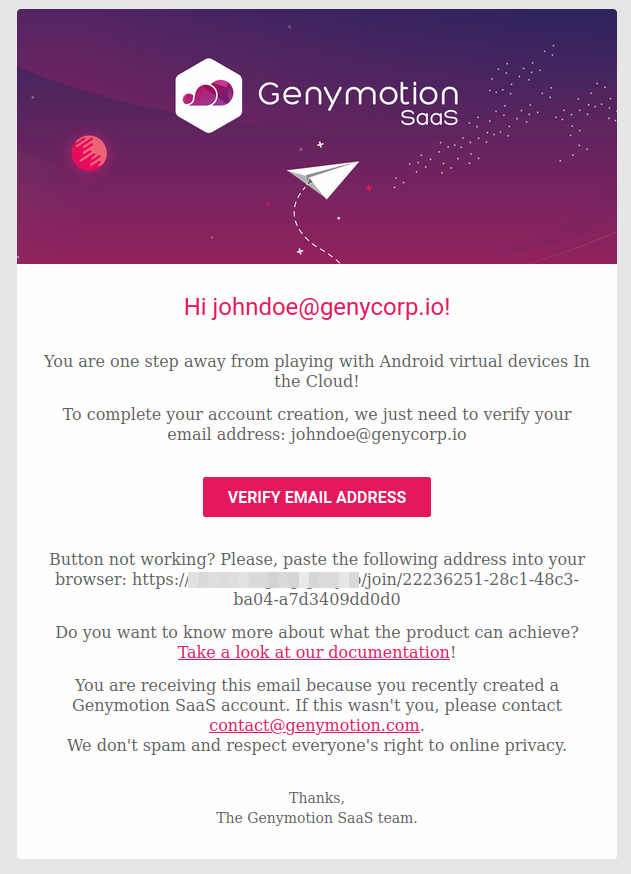
Click on the verification email button to activate your account. Once activated, you're all set and you can start a plan!
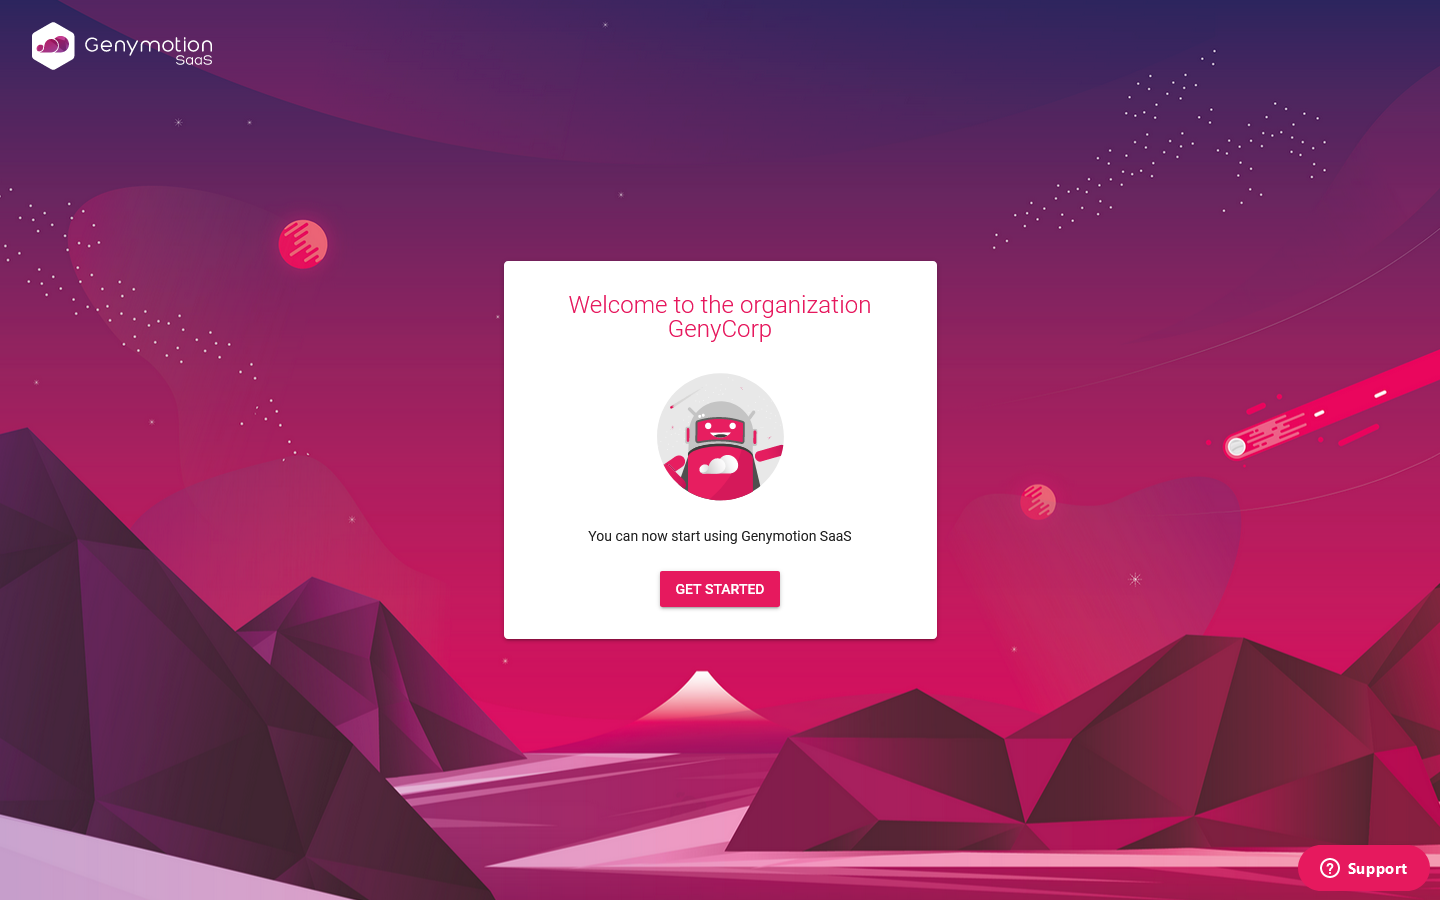
Log in
Once you are all set, log in to Genymotion SaaS at https://cloud.geny.io/signin :
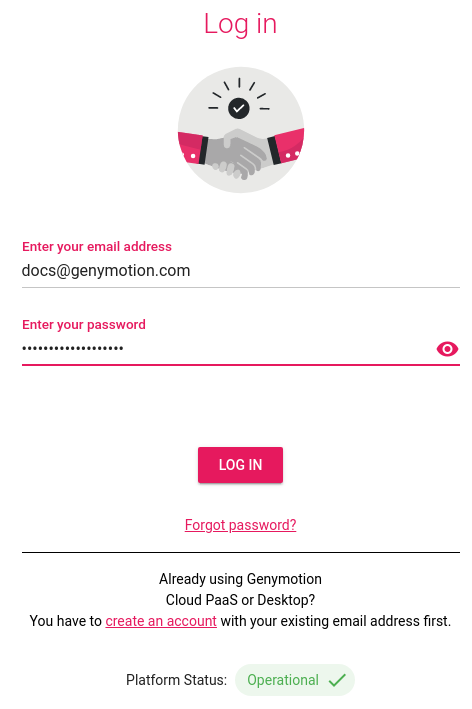
The forgot password page will allow you to set up a new account password after verifying your account email address.
Start a plan
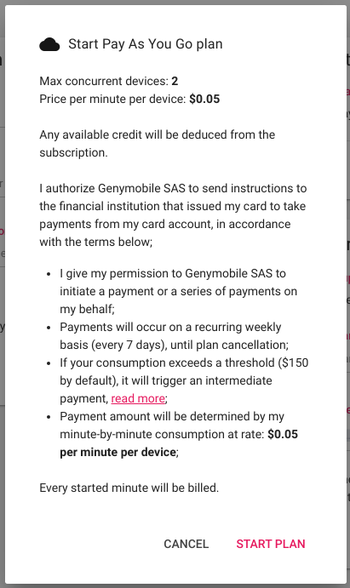
Genymotion SaaS provides a simple pay-as-you-go plan. By default, you can run up to 2 virtual devices simultaneously, at $0.05 per minute per device. If you need more devices or want to learn more about pricing options, see Pricing.
- Log in at https://cloud.geny.io/signin
- From Genymotion SaaS main window, open Administration Panel > Billing , or click the Start plan button from the home page.
- Fill in the Billing address and Credit Card information fields with the appropriate information.
- Click on START PAY AS YOU GO PLAN.
- Check the displayed information and click on START PLAN to confirm.
Quick-Start a Virtual Device
- From the Virtual devices homepage , click

- Search and select the recipe you wish to use and click START
